هذا المحتوى غير متوفر بلغتك بعد.
How to create a receipt
Section titled “How to create a receipt”For receiving tied to validated purchase demand, prefer Ordered Items → Create receipt so lines stay linked to purchase orders—see How to create a receipt from Ordered Items.
Use Procurement → Receipts → + Create when you need a manual receipt your process allows (for example ad-hoc or corrective receiving).
Open the Receipts list
Section titled “Open the Receipts list”- Navigate — In the sidebar, open Procurement → Receipts.
- The list shows Code (for example RCPT28), Name, Status (for example Validated on posted receipts), Description, Created at, Created by, and row actions. Use Search by name, Filters, Columns, Presets, and Export as needed.
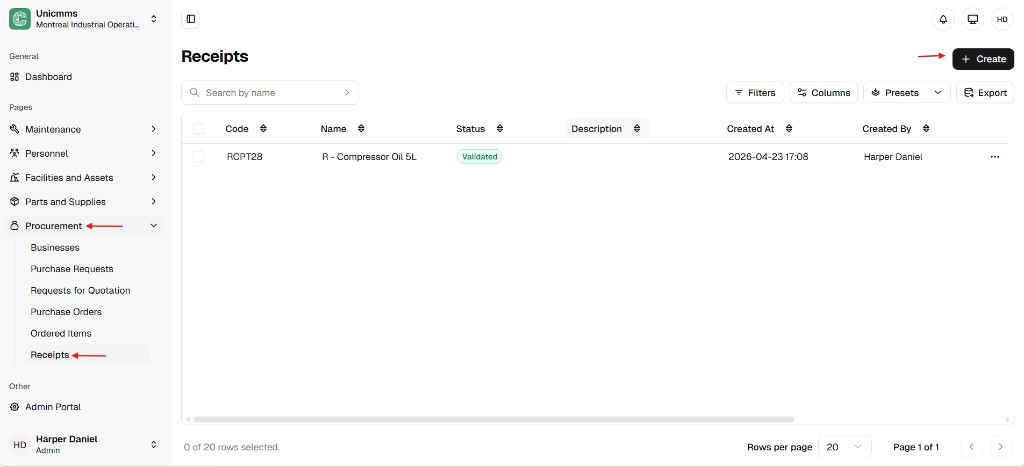
- Start — Click + Create (top-right).
Complete the form
Section titled “Complete the form”The new receipt screen has Cancel and Submit in the header, plus General and Products.
General
Section titled “General”| Field | Description |
|---|---|
| Name * | Required label (for example R - Compressor Oil 5L). Often up to 250 characters (counter in the field). |
| Description | Optional notes (for example Package arrived with slight box damage). Often up to 1000 characters. |
Products
Section titled “Products”Click New product to add each line. The grid columns are Product, Stock location, Description, Quantity, and Received quantity.
| Column | Description |
|---|---|
| Product | Part or asset being received. |
| Stock location | Aisle, bin, floor, or warehouse area where stock will post. |
| Description | Optional line note. |
| Quantity | Reference or ordered context (your UI may show a received/ordered style ratio when linked to demand). |
| Received quantity | Physical count you are booking on this receipt. |

Finalize — Click Submit. Whether inventory and Ordered Items update immediately or only after approval / validation depends on your tenant—see How to approve a receipt and Receipt sync, inventory, and delivery rules.